Hello again! Keeping with the promise from the last entry, there's going to be words in this one! Not too many I'm afraid, but enough to paint the picture, right?
Not quite finished here, but I started drawing and seeing how ink with pencil tones would look for me:

Freebie Sketch #3/6
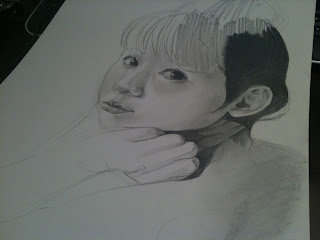
And here's a progression of a work in progress, something I haven't done in three years... "photorealism!"
1. Sketch basic proportions, and of course start with the eyes.
2. I love drawing eyes!
3. Put a little bit of rendering on the nose to make sure that eye wasn't too big.
4. Hey look! She has two eyes!
5. LIPS.
6. Blocked in the hand, rendered an ear, made basic shapes for the hair. D'oh, I drew the ear too low!
7. Ear in the right place now, I begin to black in the darker parts of the hair. I see a lot of people go awry at this part. It's common to see someone draw every strand of hair and believe that's what makes something "realistic." Rather, draw the hair as simple shapes. This is where you can take a good hint from how anime is drawn, but obviously don't give your person anime hair. Just break it down. Here, since the girl is (obviously) Asian, I'm putting in spot blacks with the side of my pencil, building them up to be strong blacks. I'm not sure if I'll go back with ink later though, but for now I'm treating this as all-pencil.
8. Moar rendering. She's not done yet, but I'm gonna sleep on it because I know I'll start rushing things if I try to finish before hitting the sack.
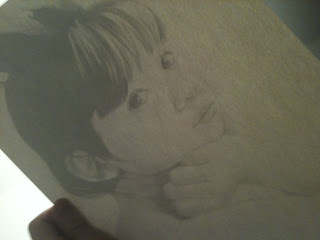
9. And to finish this entry, here's a photo from the back of the drawing held up to light. I've been doing this a lot to check for proportions, make sure everything looks good. I recall my professor, Dove, saying that reversing an image (holding up to a mirror, for example) can help identify problems, like if something is "sliding off" the face. In Paint Tool SAI the shortcut is H, and in Photoshop I like to set the shortcut to Ctrl+H.


No comments:
Post a Comment